Ledger Wallet Setup Guide – Visit ledger.com/start
Setting up your Ledger hardware wallet is essential for securing your cryptocurrency assets. Ledger offers industry-leading security by storing your private keys offline. Follow this step-by-step guide to set up your Ledger Nano S Plus, Nano X, or Nano S via the official site: ledger.com/start.
Step 1: Go to ledger.com/start
Visit https://www.ledger.com/start in your browser. This is Ledger's official onboarding page, ensuring you’re using the latest and most secure instructions. You’ll find device-specific setup guides, download links for Ledger Live, and security tips.
Step 2: Download and Install Ledger Live
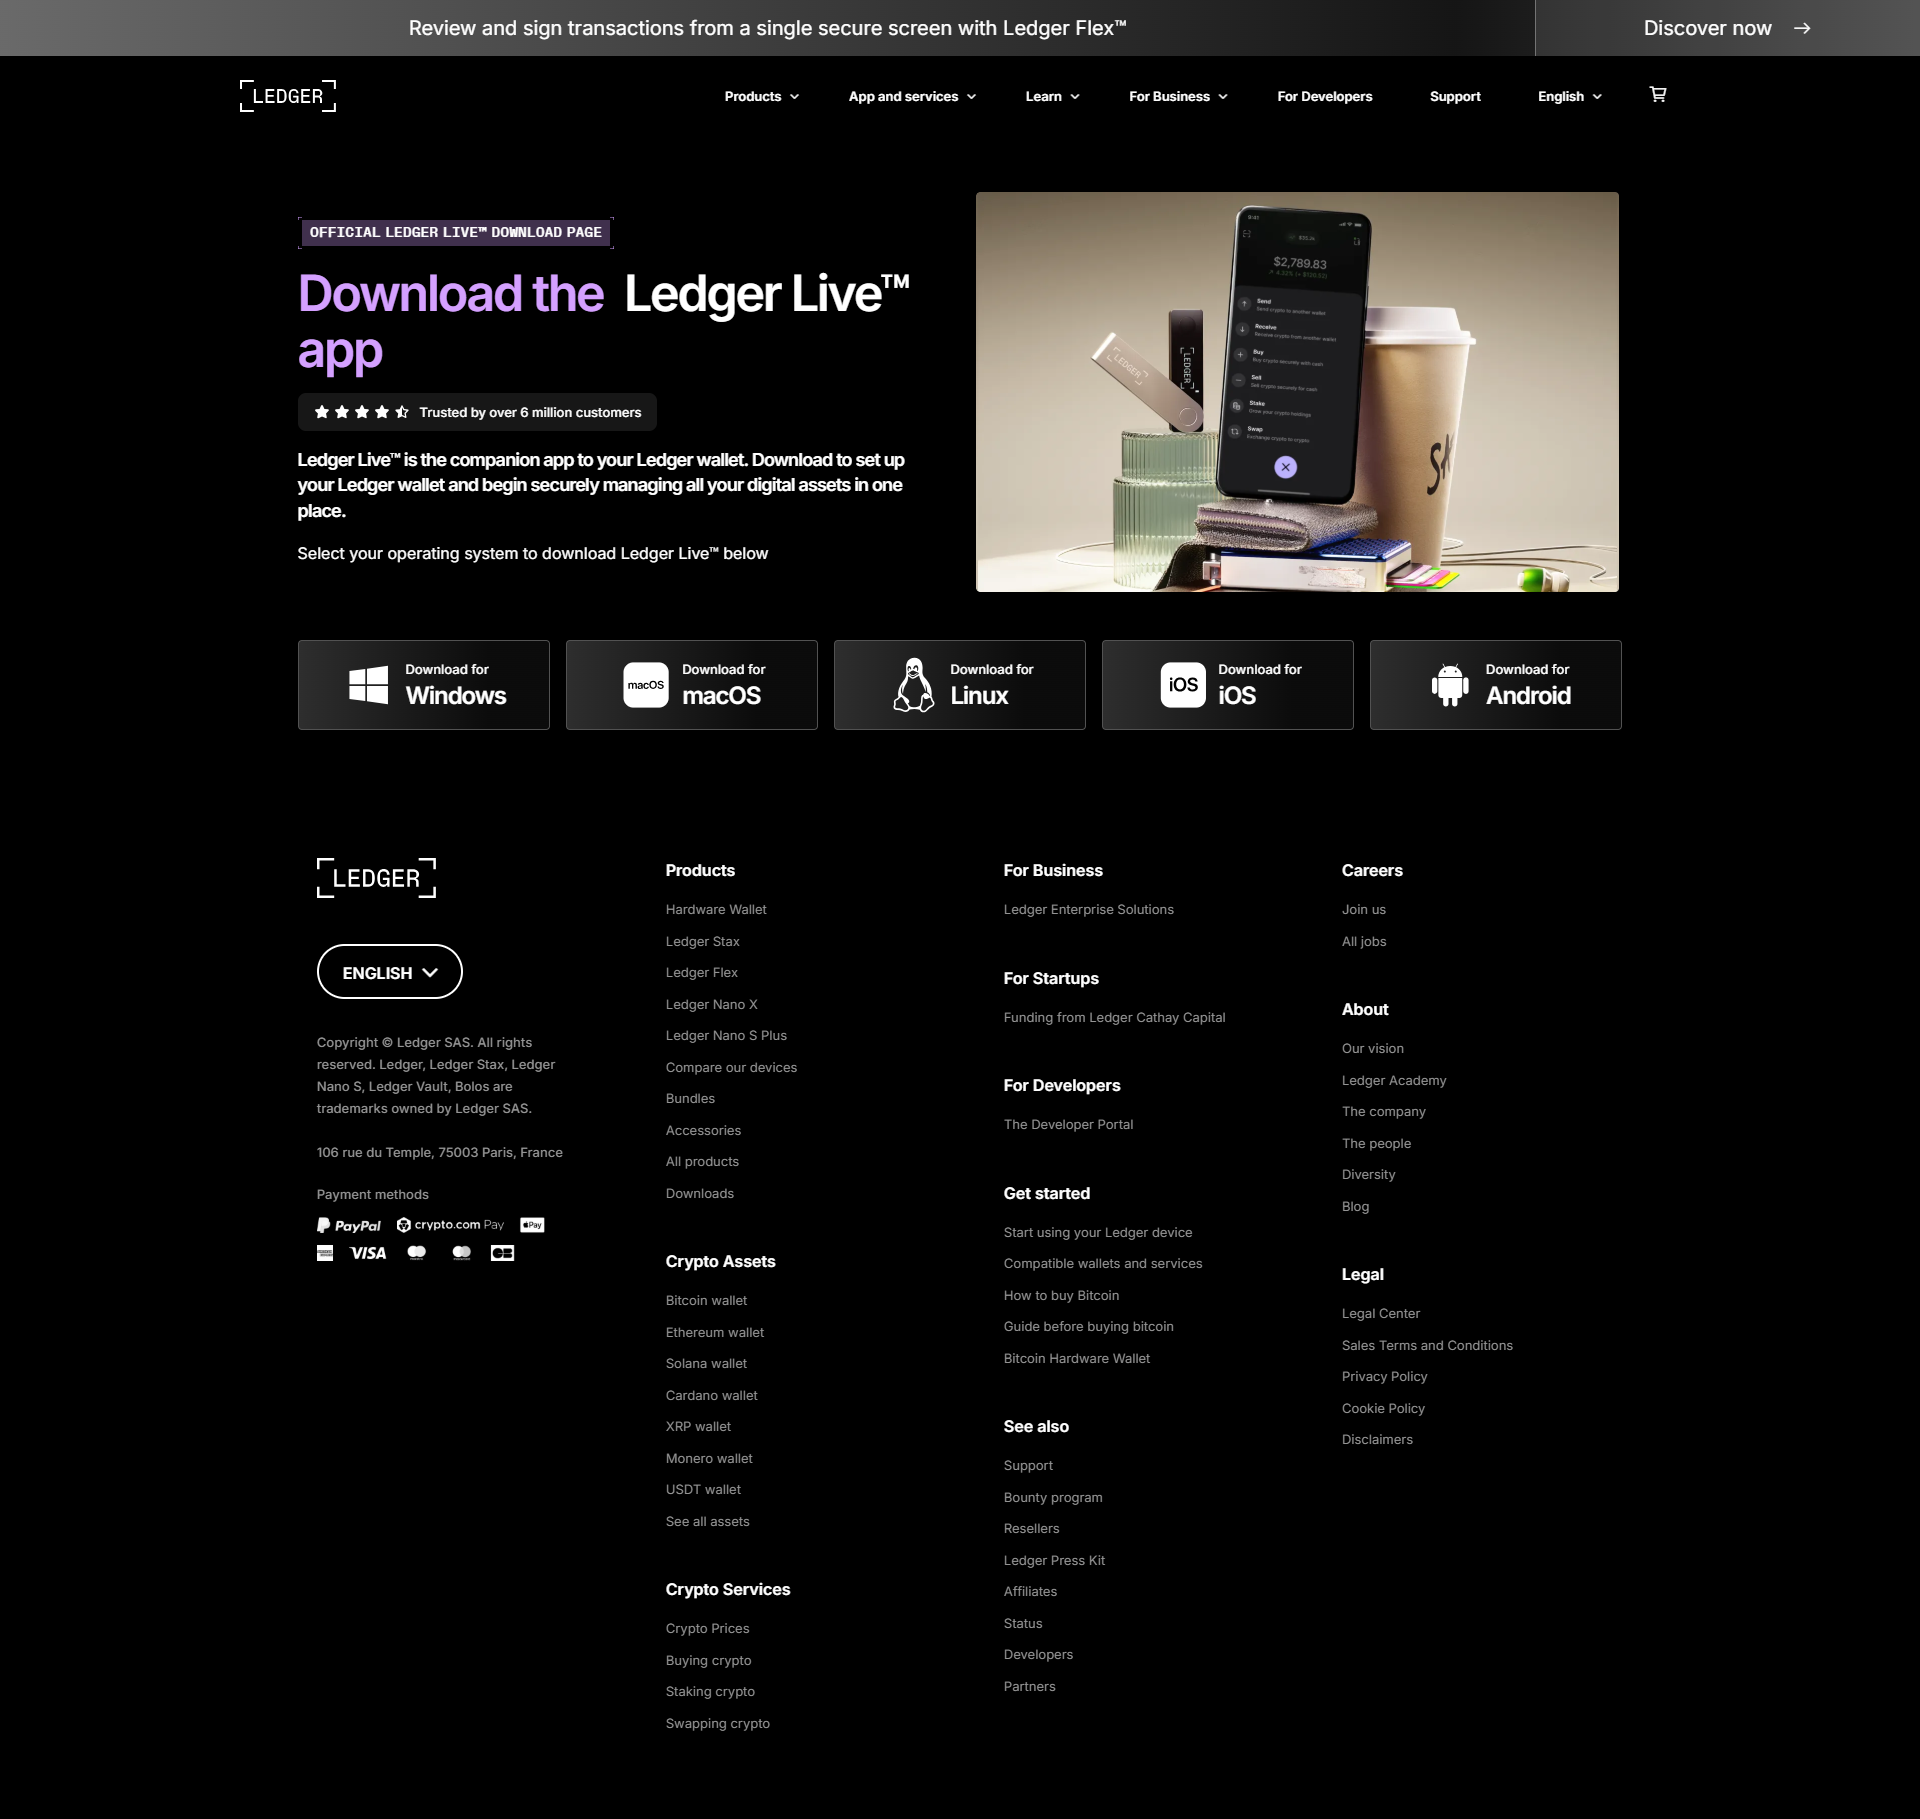
Ledger Live is the companion application for managing your Ledger device and crypto assets. Click the download link for your operating system (Windows, macOS, Linux, Android, or iOS) and install the software.
After installation, open Ledger Live and choose “Get Started.” Select your device model (Nano X, Nano S Plus, or Nano S) to begin the setup.
Step 3: Initialize Your Ledger Device
Connect your Ledger wallet to your computer using the USB cable provided. Power it on by pressing both buttons. Follow the on-screen instructions on the device to:
- Choose a PIN code (4–8 digits) to protect access to your device.
- Write down your 24-word recovery phrase on the provided recovery sheet. This is your backup. Store it securely and never share it online.
⚠️ Important: Ledger will never ask for your 24-word phrase. If anyone does, it’s a scam.
Step 4: Verify and Secure
After setup, Ledger Live will prompt you to verify your recovery phrase. This step ensures you wrote it down correctly. Once verified, your device is initialized.
You can then run a genuine check from Ledger Live to verify the authenticity of your hardware wallet.
Step 5: Add Crypto Accounts
Now you're ready to manage assets. In Ledger Live:
- Click “Accounts” > “Add Account.”
- Choose a crypto asset (like Bitcoin or Ethereum).
- Install the appropriate app on your Ledger device if prompted.
- Your crypto account will be added to Ledger Live.
Step 6: Receive and Send Crypto
To receive crypto, select your account, click “Receive,” and verify the address on your Ledger device before sharing it.
To send crypto, click “Send,” input the recipient’s address and amount, and confirm the transaction on your device.
Final Tips for Safety
- Always download Ledger Live from ledger.com/start.
- Never share your 24-word recovery phrase.
- Store your recovery sheet in a fireproof and waterproof location.
- Regularly update your device firmware and Ledger Live app.
Using Ledger hardware wallets significantly enhances your crypto security. By following the official setup steps from ledger.com/start, you’re in control of your digital assets with peace of mind.
Made in Typedream